How to clean a blender properly and quickly
Cleaning your blender after each use helps remove food residue from hard-to-reach areas, prevent unpleasant odors, and keep your blender working properly. Depending on how dirty it is, you can use two cleaning methods: a quick daily clean and a deeper periodic clean.
HOW TO CLEAN A BLENDER FOR DAILY USE
This method is suitable for most foods and drinks you blend every day, including smoothies, protein shakes, soups, sauces, and other ingredients with light residue.
Step 1: Rinse the Blender Immediately After Use
Once you finish blending, empty any remaining food from the blender jar or cup and rinse it quickly with water. Avoid letting residue dry, as it can stick more firmly to the sides of the jar and around the blades, making the blender harder to clean.
Step 2: Add Water and Dish Soap
For a full-size blender, fill the jar about halfway with warm water and add 2–3 drops of dish soap. For personal or portable blender cups, use just one drop of dish soap with a small amount of water.
Step 3: Run the Blender
Secure the lid or blade assembly, then run the blender on high speed for about 30–60 seconds. The swirling action of the water and dish soap helps clean the sides, corners, and areas around the blades.
If your blender has a Self-Clean or Pulse function, you can use it for a quicker cleaning cycle.
Step 4: Rinse and Dry
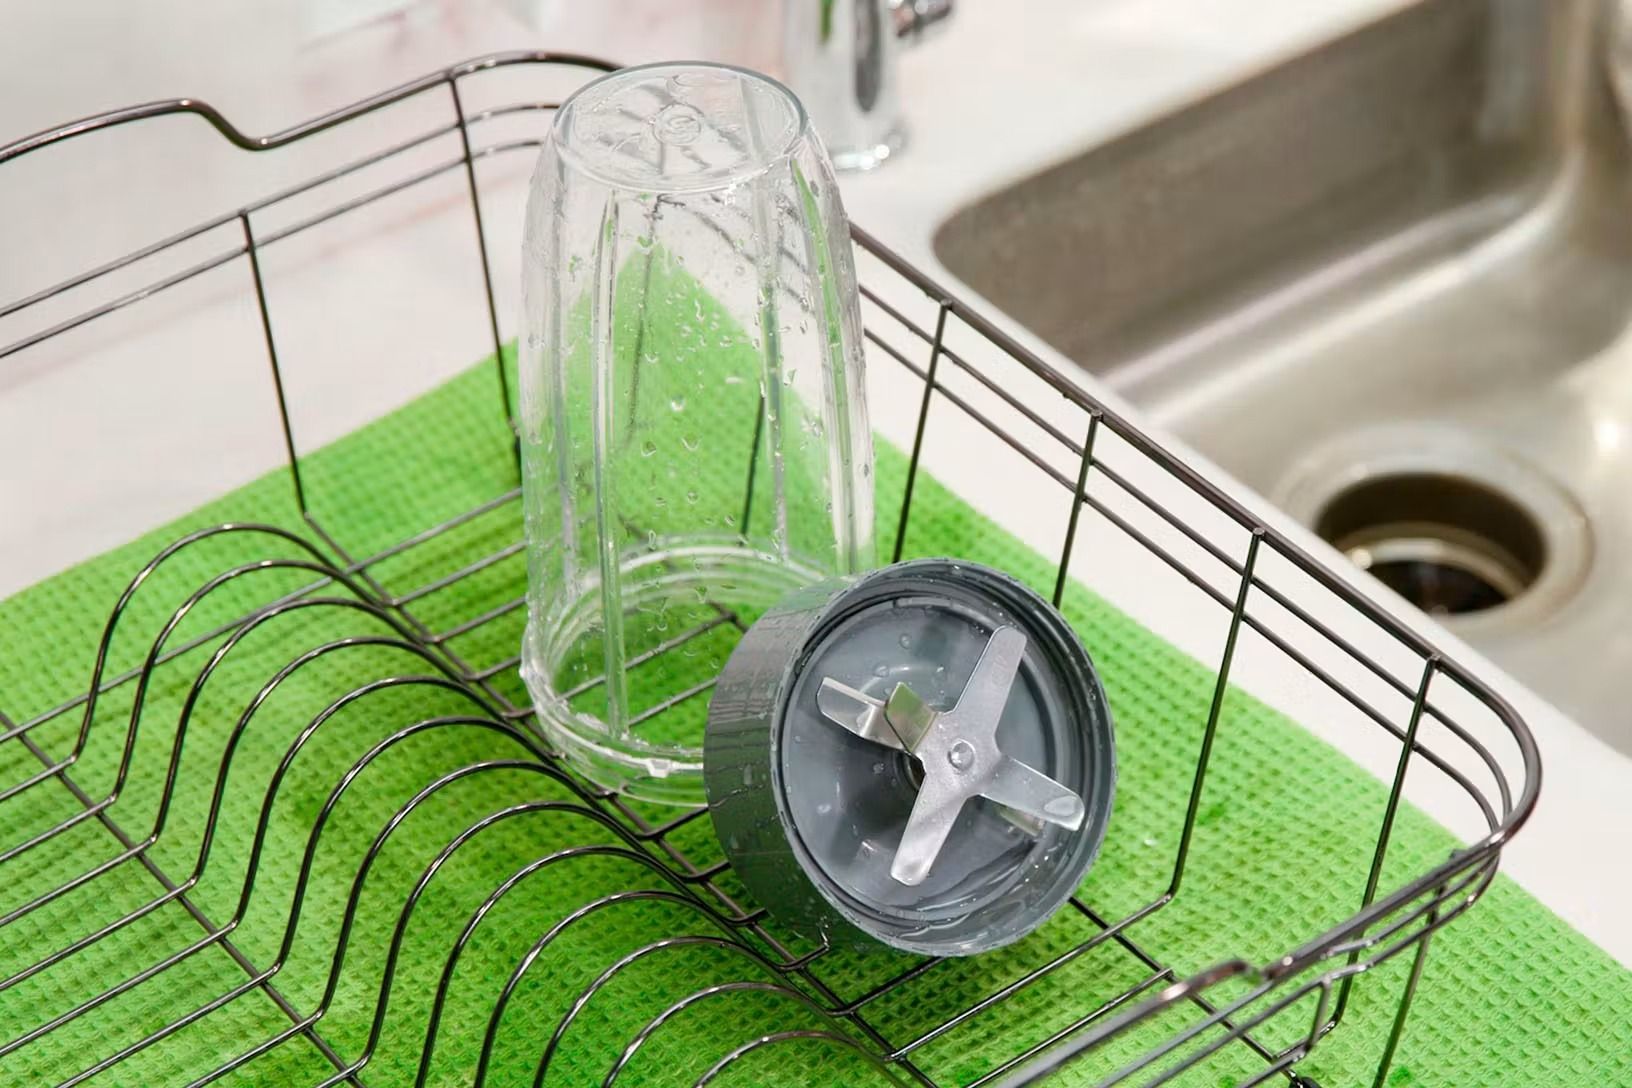
Pour out the dirty water, then rinse the jar, cup, lid, and blade assembly thoroughly with clean water. Allow the parts to air dry completely or wipe them with a clean, dry towel.
Step 5: Clean the Motor Base
Only wipe the motor base with a damp cloth. Never immerse the motor base in water, as this may damage the electrical components inside.
HOW TO DEEP CLEAN A BLENDER
For thicker ingredients such as nut butter, oily sauces, thick smoothies, or heavily seasoned foods, a quick clean may not remove all residue and odors.
Step 1: Unplug the Blender
Always unplug the blender before removing any components or cleaning the appliance.
Step 2: Remove Detachable Parts
Separate the blender jar, lid, cup, and blade assembly from the motor base and clean each part separately.
Note: Do not remove the rubber gasket from the blade assembly. Frequent removal may affect the seal and increase the risk of leaks.
Step 3: Soak with Water and Vinegar
Add water and a small amount of white vinegar to the blender jar and let it soak for about 10–15 minutes. This can help loosen residue and reduce unpleasant odors.
Step 4: Clean with a Soft Sponge
Add a small amount of dish soap and use a soft sponge to clean the inside of the jar and around the blades. Never use steel wool, metal brushes, or highly abrasive cleaning tools, as they may scratch the surface of the blender jar.
Step 5: Rinse and Dry Thoroughly
Rinse all removable parts thoroughly to remove any remaining dish soap and vinegar. Allow them to dry completely before reassembling the blender to help prevent moisture buildup, odors, and mold.
Tips for Cleaning Your Blender
- Clean your blender immediately after use to prevent food residue from drying and sticking.
- Do not blend hot ingredients in personal blender cups with enclosed blades.
- Avoid abrasive cleaning tools that may scratch the blender surface.
- Make sure all components are completely dry before reassembling the blender.
- Check the cleaning instructions for your specific model before placing the blender jar or cup in a dishwasher.
- Deep clean your blender every few uses or at least once a week.
Regular blender cleaning keeps your appliance fresh, hygienic, and ready for everyday use. A quick rinse and cleaning cycle after each use, combined with periodic deep cleaning, can help maintain your blender and prevent stubborn residue and odors.